
A garage door opener is one of those modern conveniences that we often take for granted. It provides seamless access to our garages, enhancing convenience and security. However, when it malfunctions, it can become a major hassle. Resetting your garage door opener can solve many common issues, whether it’s a glitch, a lost remote, or the need to pair new devices. In this comprehensive guide, we’ll walk you through every aspect of the reset process to ensure you’re back up and running smoothly.
Why Resetting a Garage Door Opener Matters
Understanding why resetting your garage door opener is important can help you better address the issues at hand. Here are a few key reasons:
- Troubleshooting Malfunctions: Sometimes, a reset is all it takes to resolve minor glitches or errors.
- Improved Security: If you’ve lost a remote or suspect unauthorized access, resetting ensures your system remains secure.
- Syncing New Devices: Adding a new remote or keypad requires resetting the system to establish a fresh connection.
What You Need Before You Begin
Before resetting your garage door opener, gather the following items to make the process smoother:
A Sturdy Ladder: Many garage door openers are installed on the ceiling, so a ladder will help you access the motor unit.
Owner’s Manual: The manual provides brand-specific instructions that can guide you through the reset process.
A Working Remote or Keypad: If you plan to reprogram your devices after the reset, make sure they are functional.
Step-by-Step Guide to Resetting Your Garage Door Opener
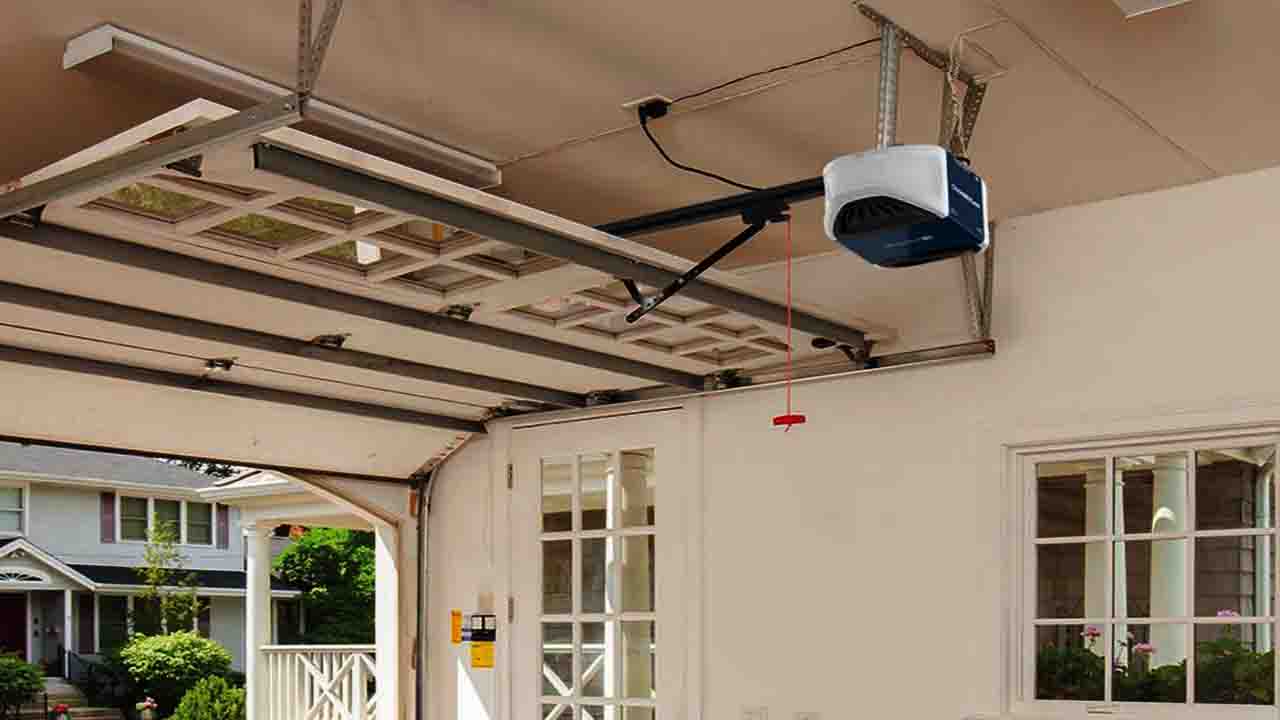
Step 1: Locate the Motor Unit
The motor unit is the central hub of your garage door opener. Typically mounted on the ceiling of your garage, it houses the reset button, which is crucial for the process. Use a ladder to safely access the unit.
Step 2: Identify the Reset Button
Look for a button labeled “Learn,” “Set,” or “Reset” on the motor unit. Depending on your opener’s brand and model, this button may be:
- Under a removable panel cover
- Located near indicator lights
- Color-coded (common colors include red, yellow, or purple)
Step 3: Press and Hold the Reset Button
Press and hold the reset button for 5-10 seconds or until the indicator light starts blinking. This step clears the system’s memory, effectively erasing all paired remotes and keypads. Some models may require you to press the button multiple times instead of holding it down, so consult your manual for specific instructions.
Step 4: Test the Reset
After completing the reset, test the system by pressing a remote button. If the garage door doesn’t respond, the reset was successful, and you’ll need to reprogram your devices to restore functionality.
How to Reprogram Your Garage Door Opener
Resetting your opener clears its memory, so you’ll need to reprogram your remotes and keypads. Here’s how:
Reprogramming a Remote
Press the “Learn” Button: Locate and press the “Learn” button on the motor unit.
Activate the Remote: Within 30 seconds of pressing the “Learn” button, press the desired button on your remote.
Confirm the Pairing: Wait for the indicator light to blink or listen for a clicking sound, signaling that the remote has been successfully paired.
Reprogramming a Keypad
Press the “Learn” Button: Start by pressing the “Learn” button on the motor unit.
Enter a New PIN: On the keypad, enter a new personal identification number (PIN), followed by the “Enter” button.
Confirm the Pairing: Wait for visual or auditory confirmation, such as blinking lights or a beep.
Troubleshooting Common Issues
Even with clear instructions, you may encounter challenges during the reset process. Here are some common issues and how to resolve them:
The Reset Button Doesn’t Respond
Check Power Supply: Ensure the motor unit is plugged in and receiving power.
Inspect the Wiring: Look for loose or damaged wires that may be affecting the button’s functionality.
Consult the Manual: Some models have specific reset procedures, so double-check your manual.
Remote Fails to Work After Reset
Replace Batteries: Dead batteries in your remote can prevent successful pairing.
Verify Range: Ensure you’re within the recommended range of the motor unit when testing the remote.
Repeat the Steps: If pairing fails, go through the reprogramming steps again carefully.
Keypad Doesn’t Respond
Check Battery: Replace the keypad’s battery if it’s not functioning.
Reprogram Carefully: Double-check that you’ve entered the correct PIN during reprogramming.
Brand-Specific Instructions
Different manufacturers may have unique reset processes. Here’s an overview of instructions for popular brands:
Chamberlain and LiftMaster
- Locate the yellow or purple “Learn” button on the motor unit.
- Press and hold the button until the LED light turns off (approximately 6 seconds).
- Reprogram remotes and keypads as needed.
Genie
- Press and hold the “Learn Code” button until the indicator light blinks twice.
- Follow the steps to pair your remotes and keypads.
Craftsman
- Press and hold the “Learn” button until the light goes out.
- Reprogram remotes within 30 seconds of completing the reset.
Linear
- Use the “Learn” button to clear the system’s memory.
- Reprogram all devices following the manufacturer’s instructions.
Advanced Tips for Troubleshooting
Resetting Without a Manual
If you’ve misplaced your owner’s manual, you can often find a digital version online by searching for your garage door opener’s make and model. Manufacturers typically provide PDFs of manuals on their websites.
Dealing with Wi-Fi Enabled Openers
For smart garage door openers connected to Wi-Fi, you may need to reset the network settings in addition to the main system. Follow these steps:
Access the App: Open the companion app for your opener (e.g., MyQ for Chamberlain models).
Navigate to Settings: Look for an option to reset or reconnect your device.
Follow the Instructions: Complete the on-screen prompts to reset and reconnect to your Wi-Fi network.
When to Call a Professional
If you’ve tried all the steps in this guide and your garage door opener still isn’t functioning correctly, it may be time to consult a professional technician. Persistent issues could indicate more serious problems, such as motor failure or electrical issues.
Safety Tips During the Reset Process
Resetting a garage door opener involves working with electrical components and potentially moving parts. Here are some safety precautions to keep in mind:
- Unplug the Motor Unit: Always disconnect the power to the motor unit before performing a reset to avoid electrical shocks.
- Use a Stable Ladder: Ensure your ladder is secure to prevent falls while accessing the motor unit.
- Keep the Area Clear: Make sure children and pets are at a safe distance while working on the garage door opener.
Final Thoughts
Resetting your garage door opener can seem daunting, but with the right guidance, it’s a manageable task. Whether you’re addressing a malfunction, enhancing security, or adding new devices, following the steps outlined in this guide will help you achieve success. Remember to consult your owner’s manual for brand-specific instructions and prioritize safety at every stage.
If you encounter persistent issues or feel unsure about any part of the process, don’t hesitate to seek professional assistance. A functional garage door opener is essential for the convenience and security of your home, and ensuring it operates smoothly will save you time and stress in the long run.